Using PreviewMyEmail service from SendBlaster is very easy: just create a new list containing only your PME dedicated address (which you obtain after registering to the service) and send your mail to that list. Then, after a few minutes, login to the service and check the results.
Here is a detailed how-to:
1. Sign up to PreviewMyEmail – do not forget to enter your coupon to redeem your 10 free preview credits!
2. Please take note of your dedicated PreviewMyEmail address (something similar to inbox_username@Previewmyemail.com), which you will need later.
3. Open SendBlaster.
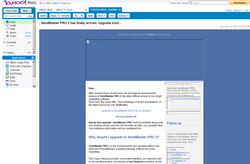
4. Go to “Compose Message” and design or import your e-mail.

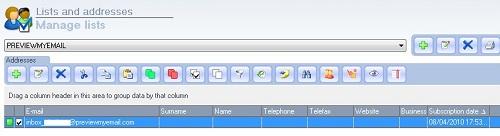
5. Select “Manage Lists” and click the “+” button to create a new list. Let’s name it “PREVIEWMYEMAIL”.
6. Add your dedicated PreviewMyEmail address (similar to inbox_username@Previewmyemail.com, see step2) to the list and click Save.
7. Select “Send” section and send your e-mail test.
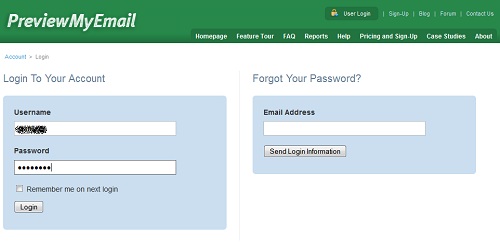
8. Log in to your PreviewMyEmail account (i.e. inbox_username.previewmyemail.com).
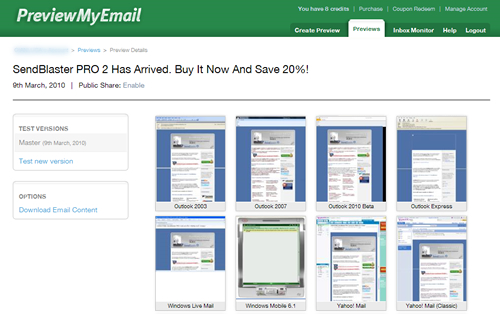
9. Select the e-mail you have just sent for testing.
10. After a few minutes you will see 20+ screenshots taken from all major e-mail clients on your browser. Click on them to get a full screen version of the e-mail previews.
IMPORTANT NOTE
Unfortunately, PreviewMyEmail does not support embedded images at the moment. This means that if you embed the images into the e-mail itself you will not be able to see them in their e-mail previews, even if they will show correctly on real e-mail clients.
If you want to preview images inserted in your e-mail on PreviewMyEmail, you should upload them online on your hosting server, and then add them to your message using an absolute path. (http://www.yoursite.com/images/logo.jpg). In SendBlaster’s Compose panel, click on the icon ( ![]() ) , enter the absolute URL of your image previously uploaded online (without pressing the “Browse” button), and finally hit the OK button.
) , enter the absolute URL of your image previously uploaded online (without pressing the “Browse” button), and finally hit the OK button.
Here below are two PreviewMyEmail screenshots:
on the left > e-mail with images linked to a URL
on the right > e-mail with embedded images